Unboxing and preparing a new printer
Six physical steps that prevent most first-day problems before any software is involved.
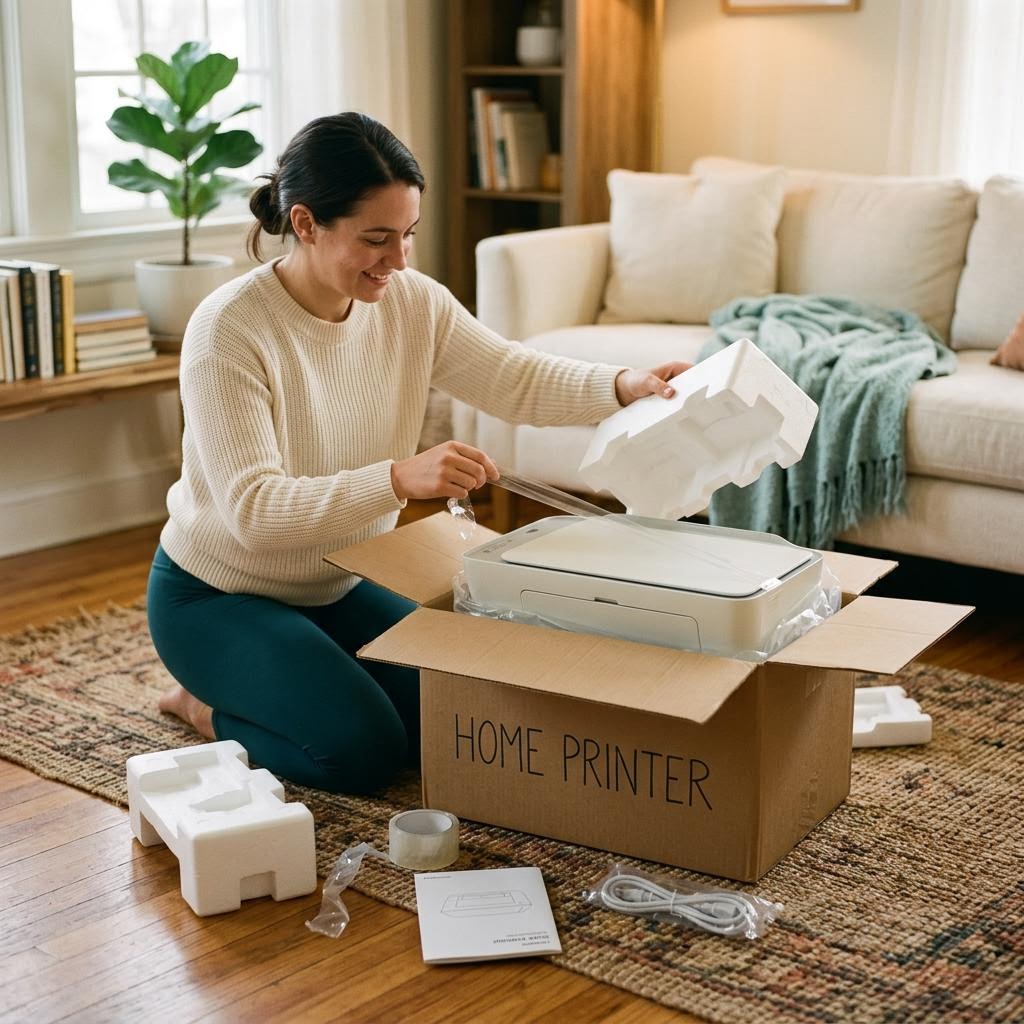
Before you begin
- A flat, stable surface with room around it
- A nearby power outlet
- The quick-start sheet from the box
- Plain paper
- 01
Choose the spot
Pick a stable, level surface with space for trays to open and paper to exit. For Wi-Fi, avoid cabinets and spots behind thick walls.
- 02
Remove all packing material
Take off outer tape, then open every door and tray. Manufacturers hide orange or blue tape and foam inside. Leftover pieces cause jams and errors.
Compare against the quick-start sheet so nothing is missed.
- 03
Connect power, not data yet
Plug the printer directly into the wall where possible, not a crowded power strip. Power it on and let its first startup complete.
- 04
Install supplies
Remove protective strips from ink cartridges or the toner seal, then seat each one until it clicks. Follow the printer's prompts for initialization, which can take several minutes.
- 05
Load paper properly
Fan the stack, load it under the line marked in the tray and slide the guides so they touch the edges. Set the paper size on the printer if asked.
- 06
Run alignment and a self-test
Use the printer's menu to print an alignment or status page. Clean output confirms the hardware is ready before you connect a computer.