Installing a printer driver, start to finish
Twelve deliberate steps that take you from an unrecognised printer to a confirmed test page, without third-party tools.
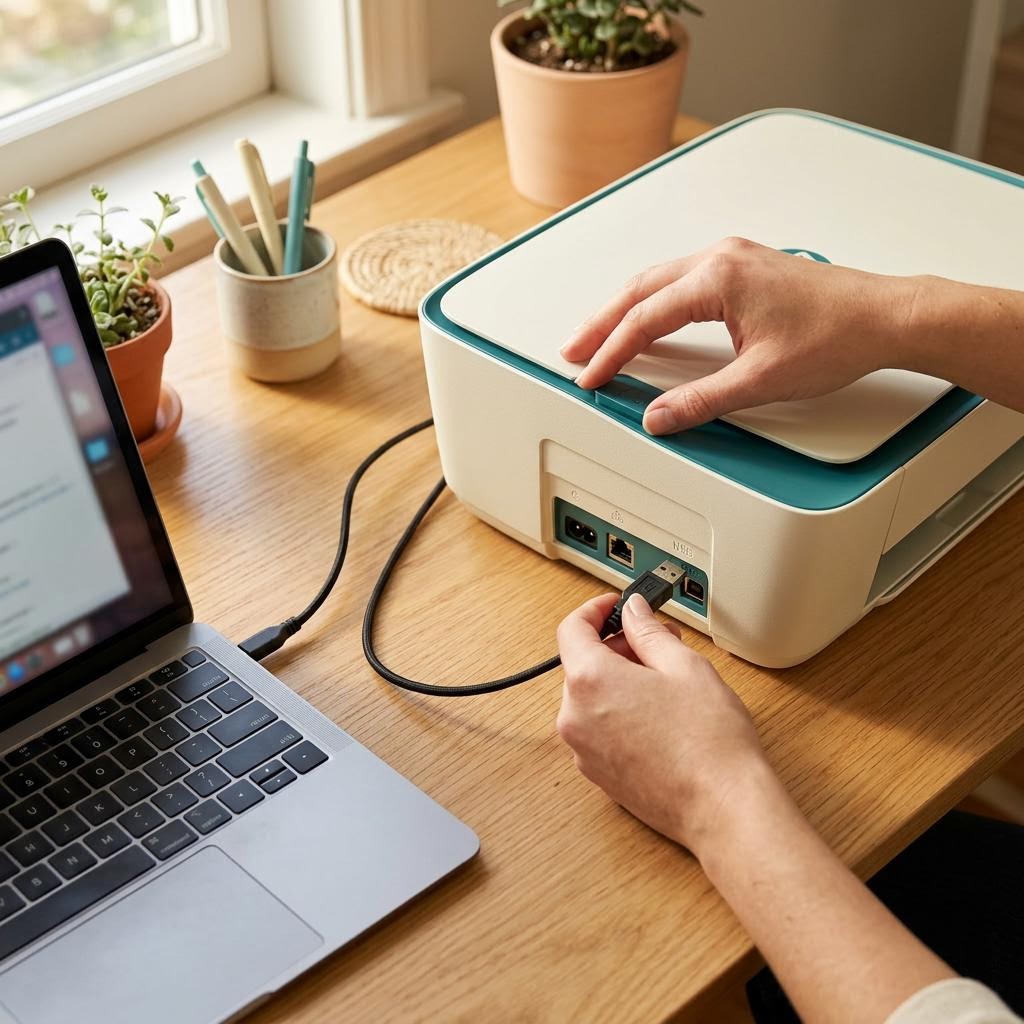
Before you begin
- Your exact printer model name, usually on the front or a label at the back
- Your computer's operating system and version
- A stable internet connection
- Administrator access to the computer
- 01
Identify the exact model
Find the full model name and number on the printer. Similar-looking models in the same family can use different drivers, so a single letter matters.
Take a photo of the label so you have it on hand.
- 02
Confirm your operating system
On Windows, open Settings then System then About. On a Mac, choose About This Mac from the Apple menu. Note the version and whether Windows is 64-bit.
- 03
Decide how the printer will connect
Choose USB, Wi-Fi or wired Ethernet before installing. Some installers ask early and configure the connection along with the driver.
- 04
Let the system try first
Connect and power on the printer, then open the add-printer screen. Modern Windows and macOS often find and install a suitable driver automatically.
If it works and prints correctly, you may not need anything further.
- 05
Remove outdated entries
If an older entry for the same printer exists and shows errors, remove it from the printers list so the fresh install does not conflict with it.
- 06
Visit the official source only
Go to your printer manufacturer's official support site by typing its address yourself or using a trusted search. Avoid sites offering bundled driver packs or 'updater' utilities.
- 07
Choose the matching package
Select your exact model and operating system. Where both a full software package and a basic driver are offered, the basic driver is usually enough for printing.
- 08
Run the installer with care
Read each screen. Decline optional extras you do not need. Follow the prompt for when to connect the USB cable if using one.
- 09
Restart if asked
A restart lets the system finish registering the driver and the print service. Skipping it can leave the printer half-installed.
- 10
Add the printer
Open the add-printer screen again and select your printer. Confirm it lists the manufacturer driver you installed rather than a generic one.
- 11
Print a test page
From the printer's properties, print a test page. It verifies the full chain from computer to paper.
- 12
Set preferences and default
Set paper size, default quality and, if you like, make it your default printer so applications send jobs to it automatically.
Your future self will thank you for naming it clearly, such as Kitchen Inkjet.